

Bulk updating, exporting and importing fixed fares
Export every fixed fare to a spreadsheet, change them all at once, and import them back. You can import into the same system or a different one — the wizard lines up your zones, accounts and sites as it goes.
Exporting
Step 1: Open the export tool
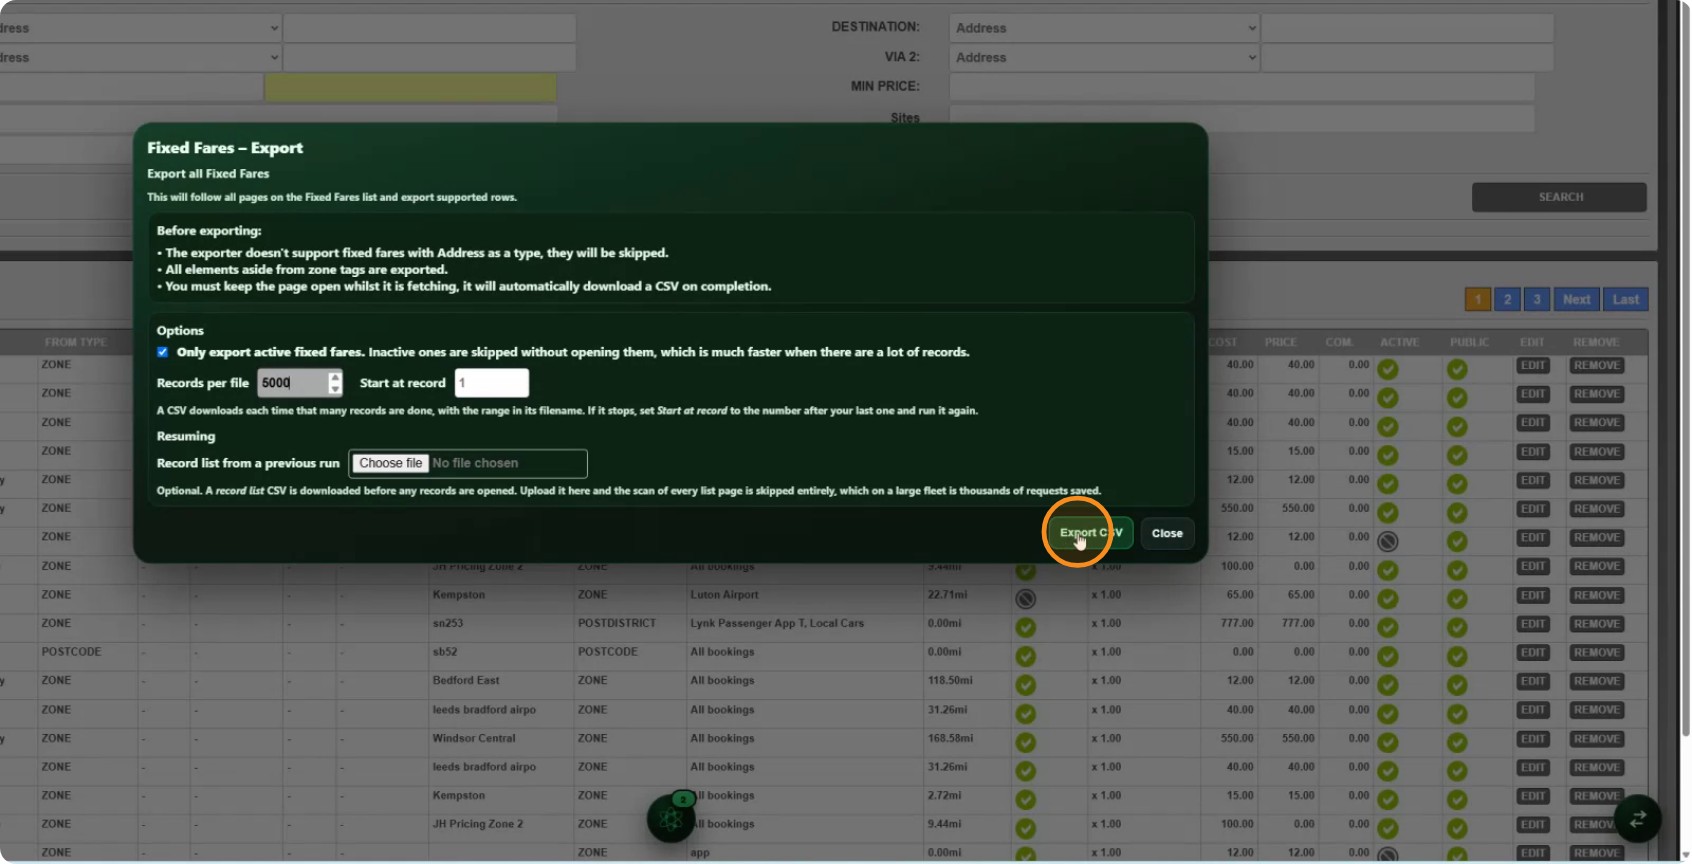
Open the CabbiCore console on the fixed fares page and choose Export.
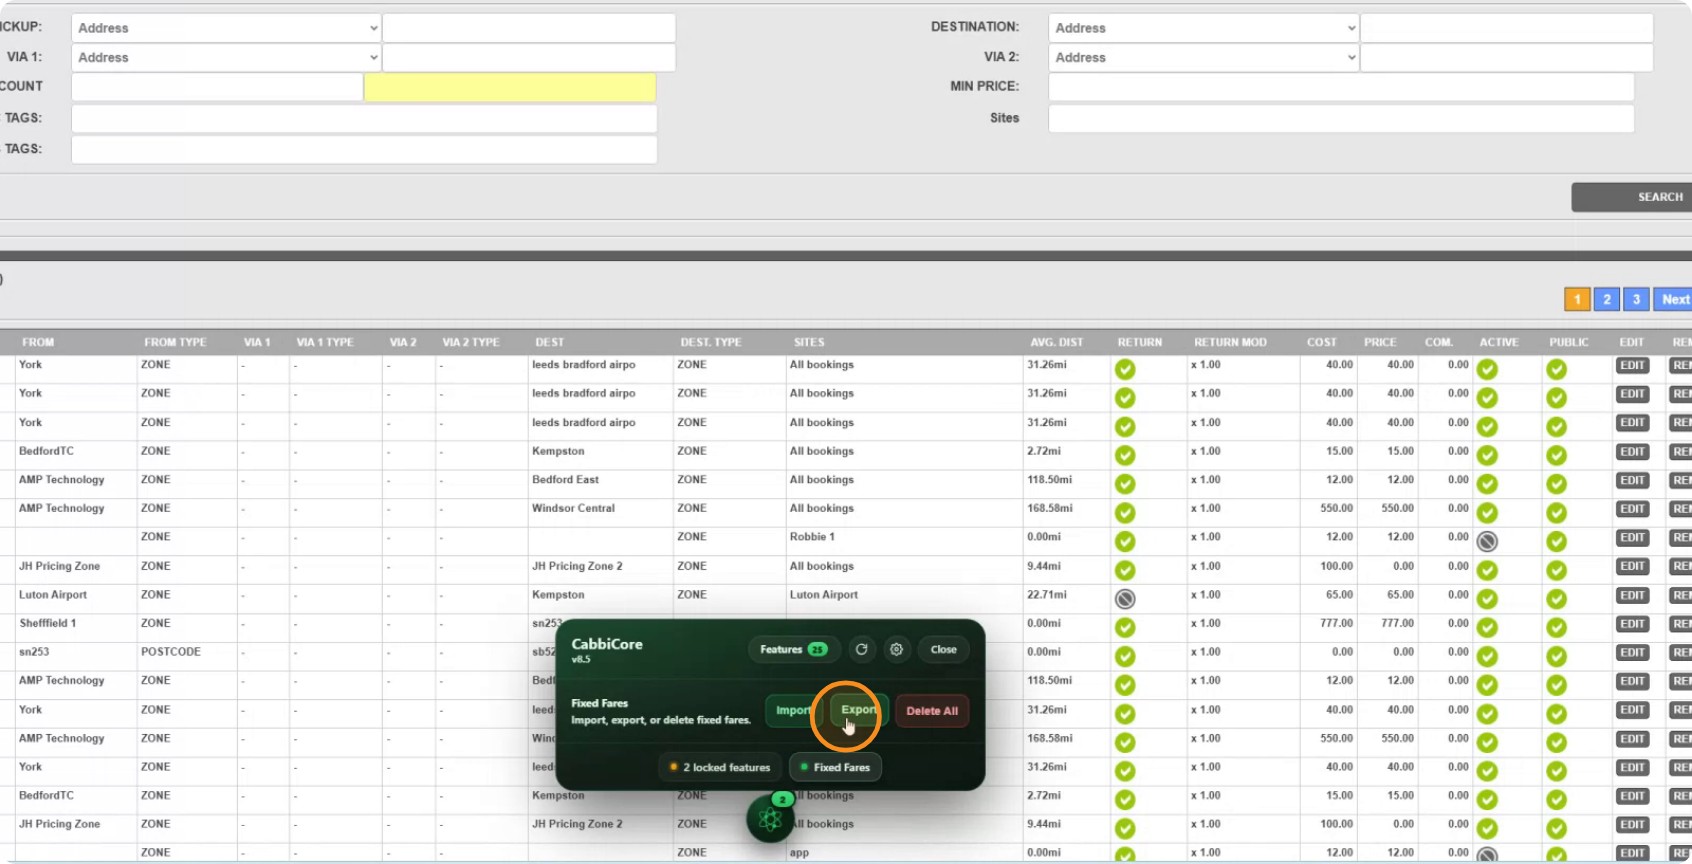
Two things worth knowing before you start:
- Fixed fares with Address as a type are skipped. The exporter does not support them.
- Everything else is exported except zone tags.
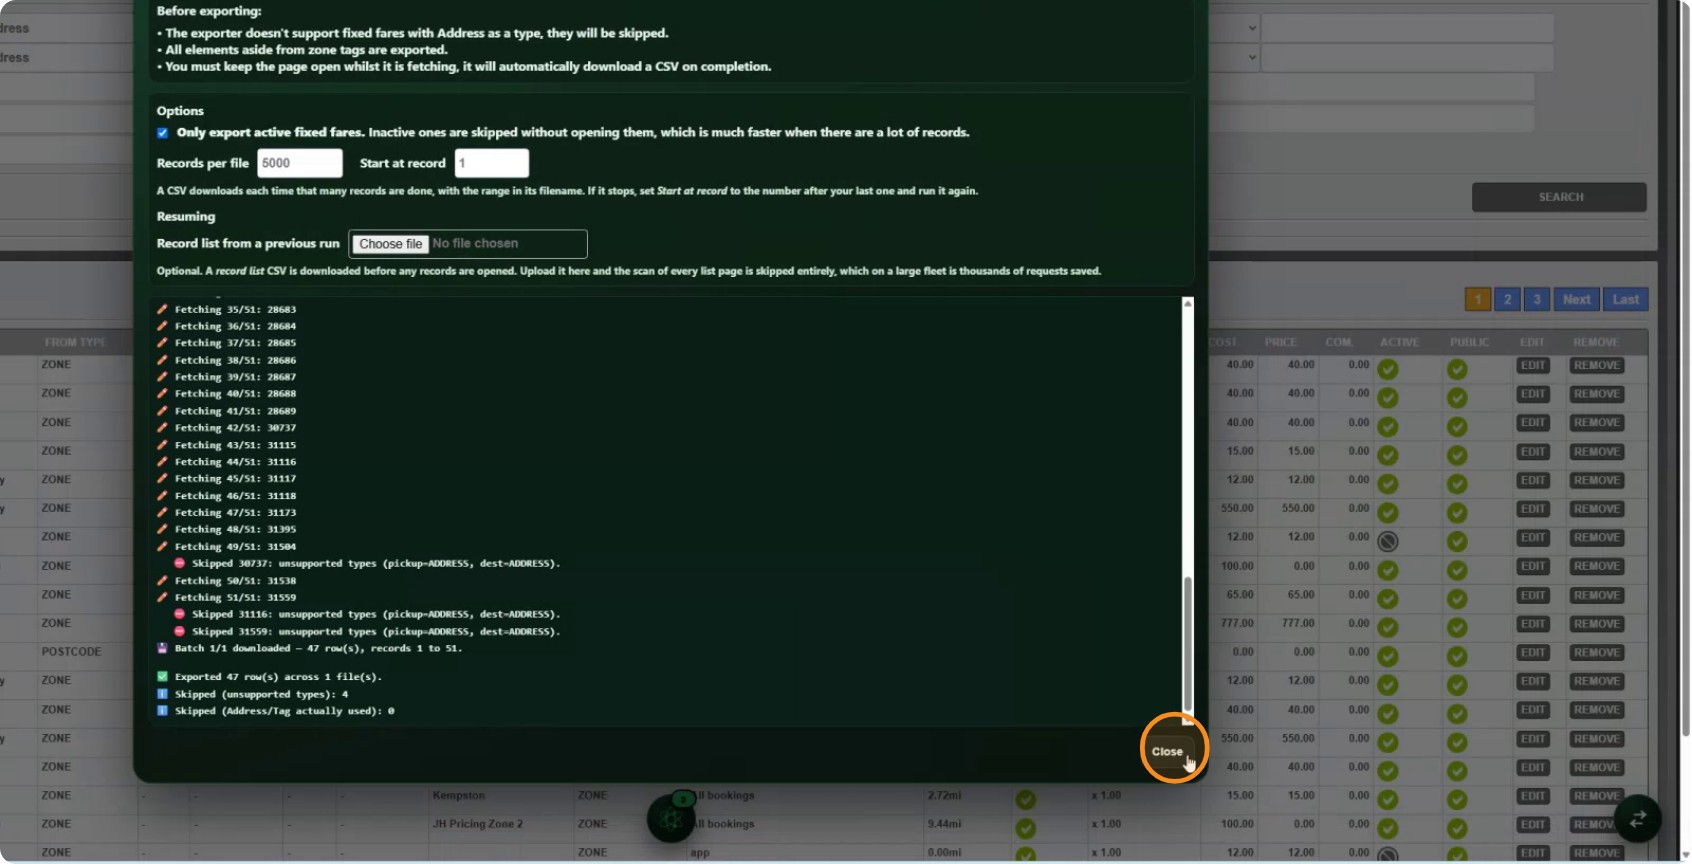
- Keep the page open while it runs. The CSV downloads on its own when it finishes.
Tick Only export active fixed fares to skip the inactive ones. It does not open them at all, so on a big list it is much quicker.
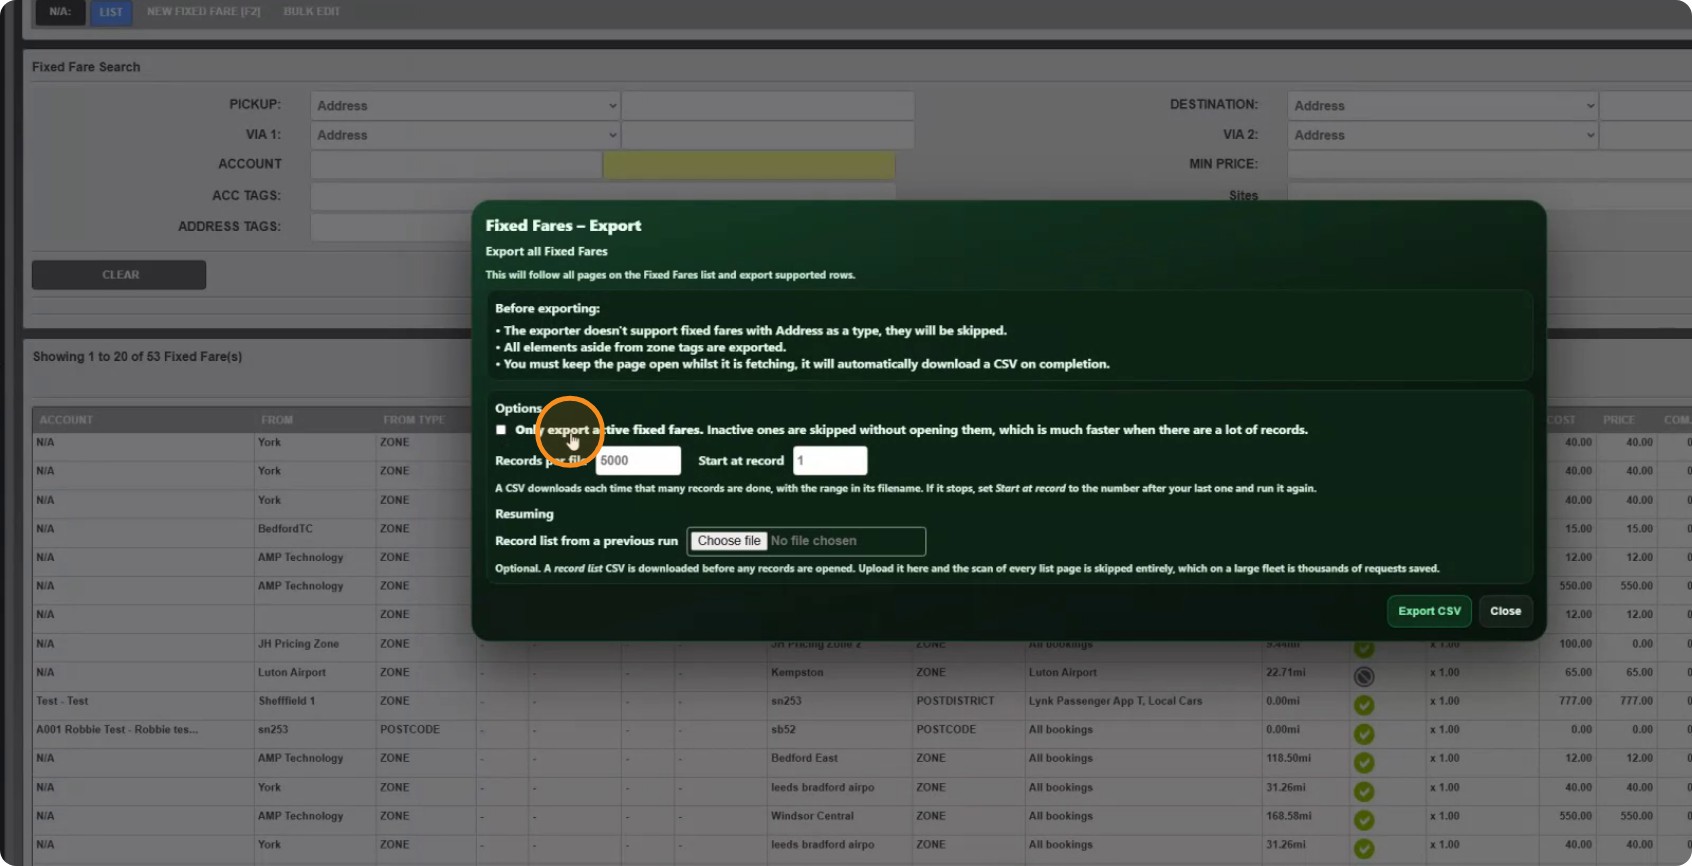
Step 2: Set the batch size if you have a lot of fares
Records per file controls how many fares go into each CSV. A file downloads every time that many are done, with the range in its filename.
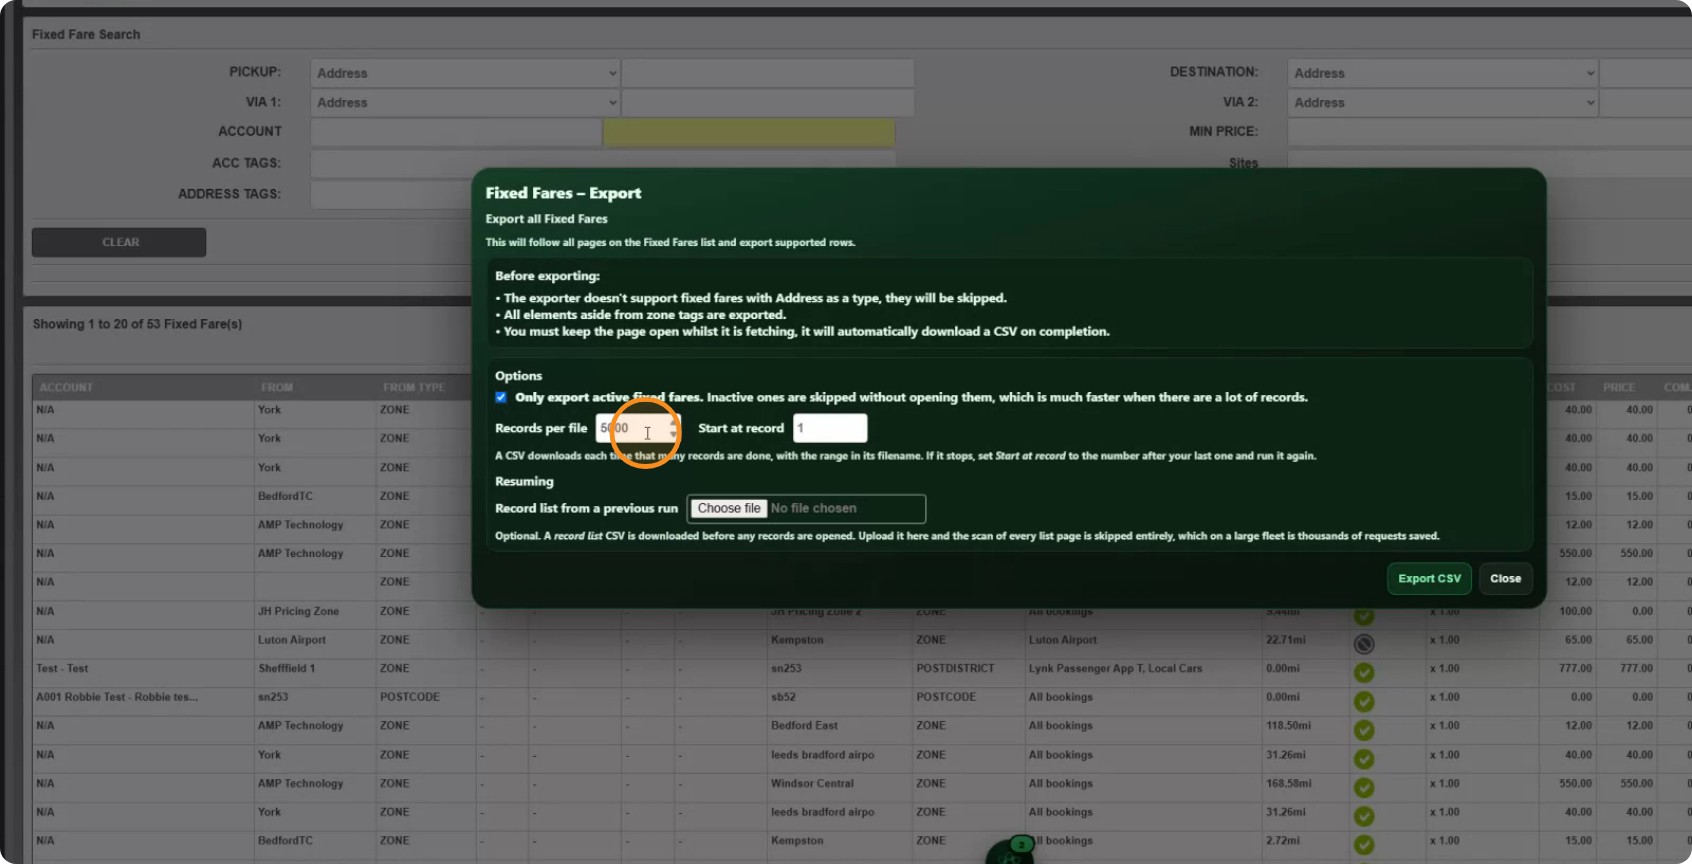
If a run stops part way, set Start at record to the number after your last one and run it again.
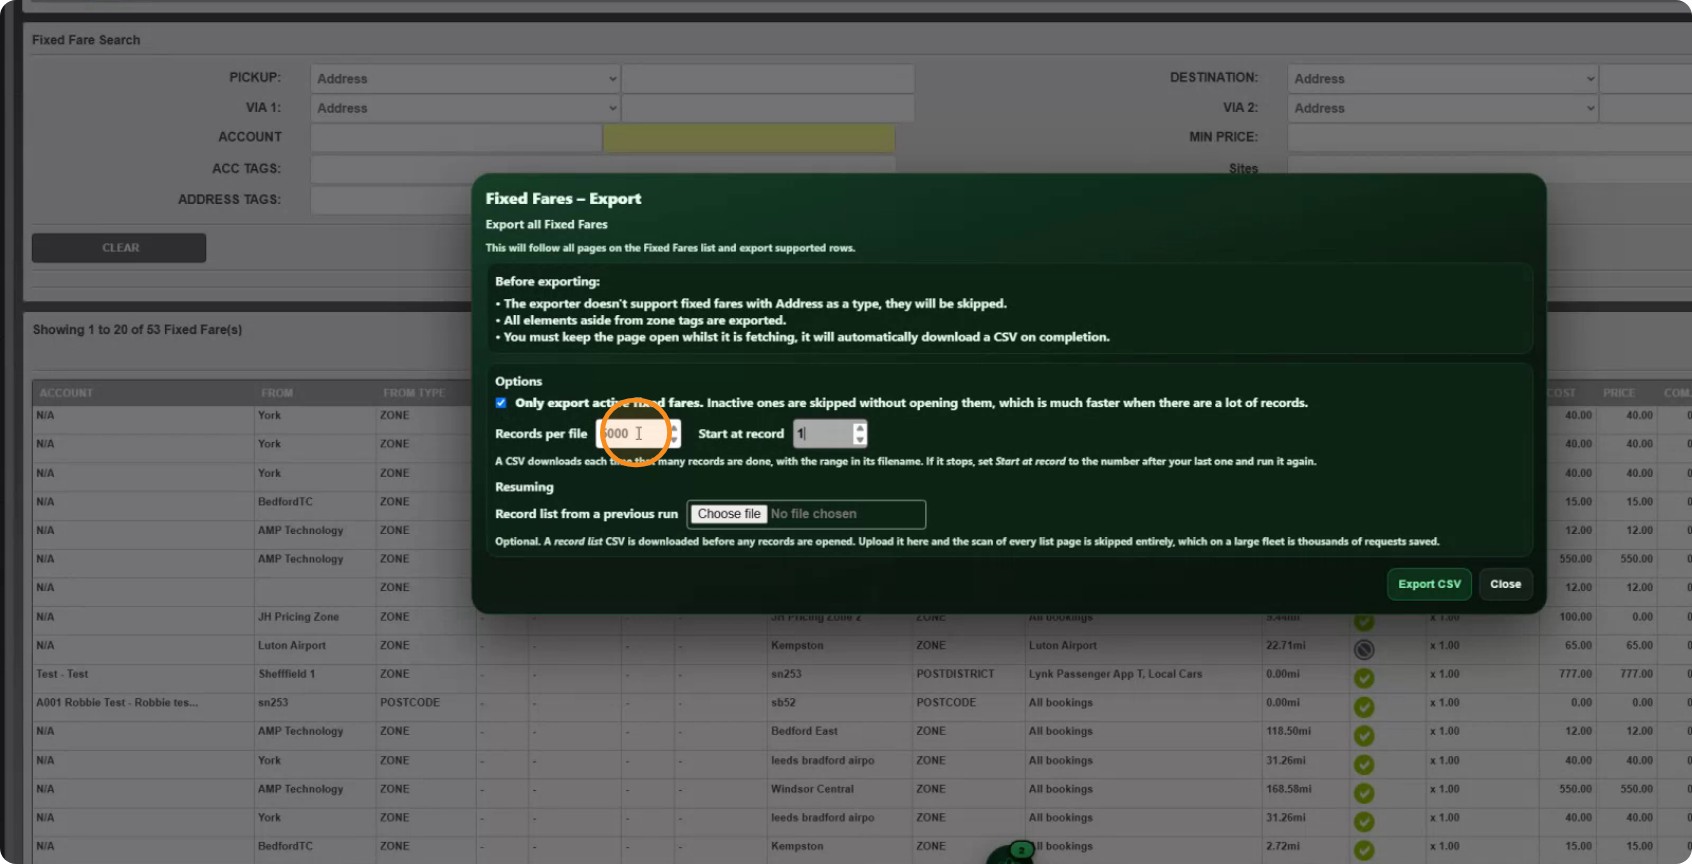
There is also a record list — a CSV that downloads before any fares are opened. Keep it, and on your next run you can upload it under Record list from a previous run. CabbiCore then skips scanning every page of the list, which on a large fleet saves thousands of requests.
When you are ready, click Export CSV.
Editing the file
Step 3: Change what you need
Open the CSV. The ID column decides what happens to each row:
- ID filled in — that existing fixed fare is updated.
- ID blank — a new fixed fare is created.
So to add a fare, copy a row, clear its ID, and change what you need. To make a return-leg fare, swap the pickup and destination. Save the file when you are done.
Importing
Step 4: Choose your file
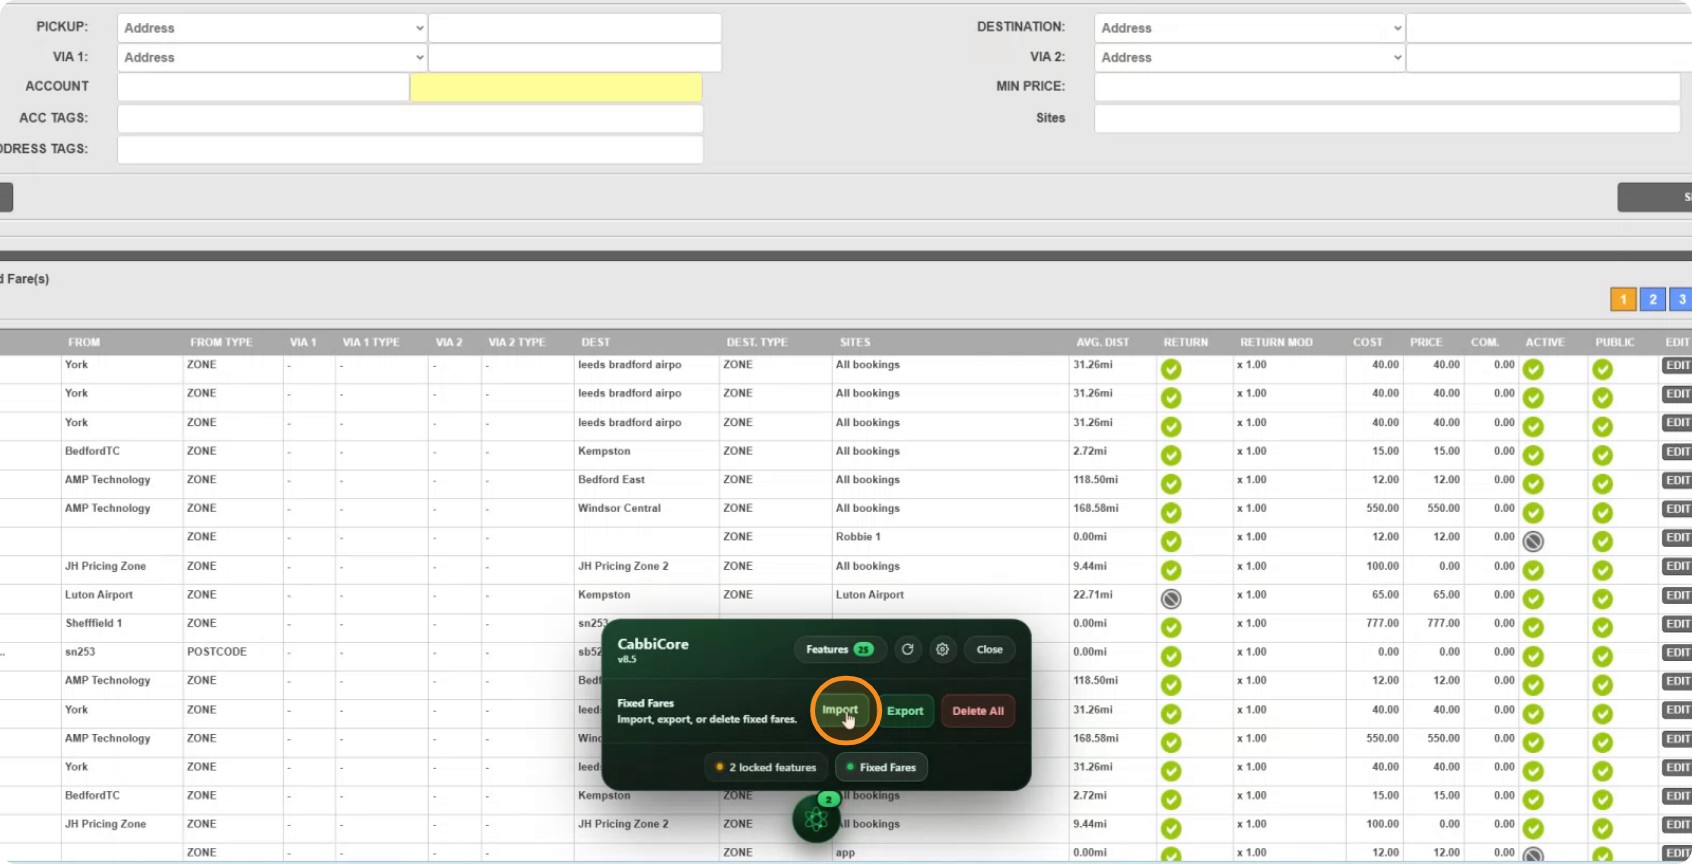
Back in CabbiCore, open the Import tool.
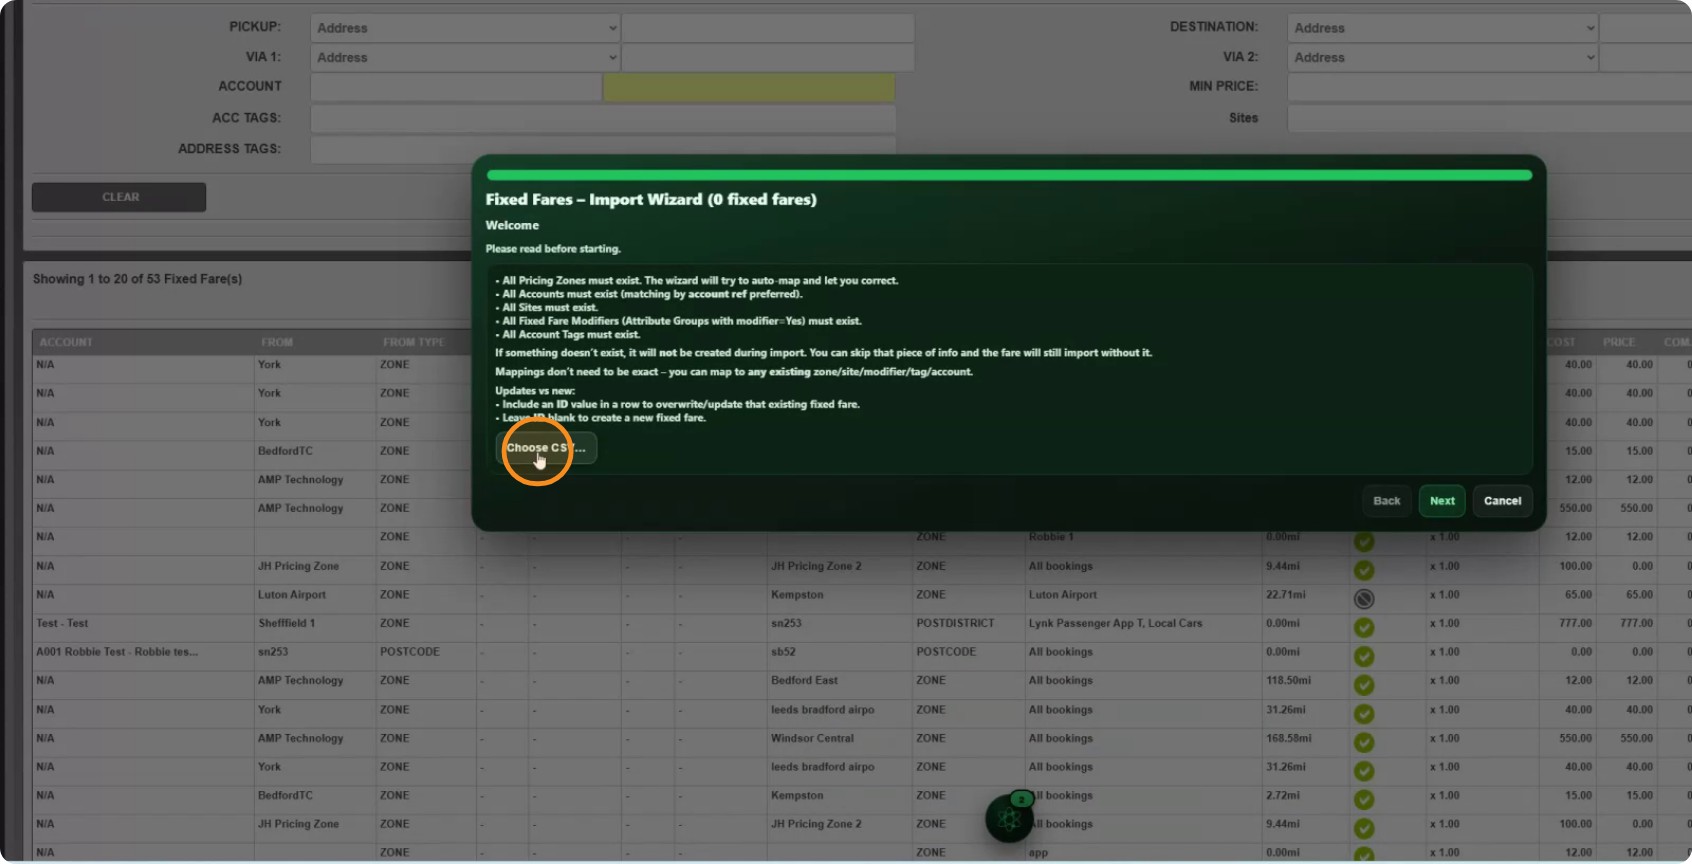
Read the notes on the first screen, then click Choose CSV and pick your edited file.
Before the wizard starts, it tells you what it found — for example 3 fixed fares: 1 new, 2 updating. Check that matches what you expect.
Step 5: Work through the wizard
The wizard has seven steps. It tries to match everything automatically first, so if you are importing back into the same system most of it will already be filled in and you can click straight through.
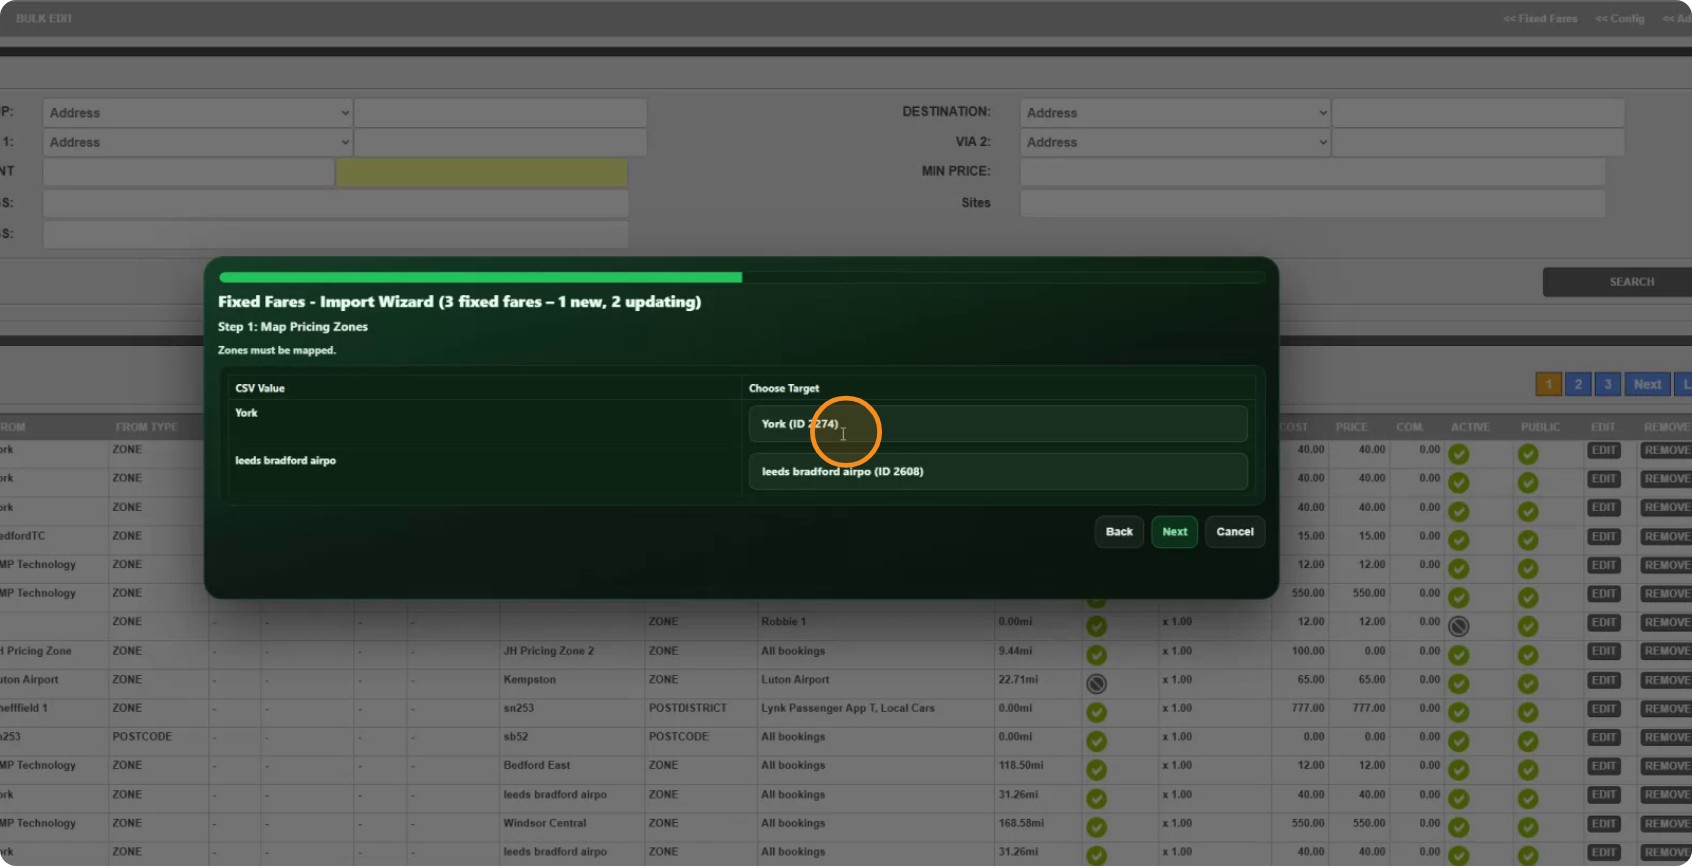
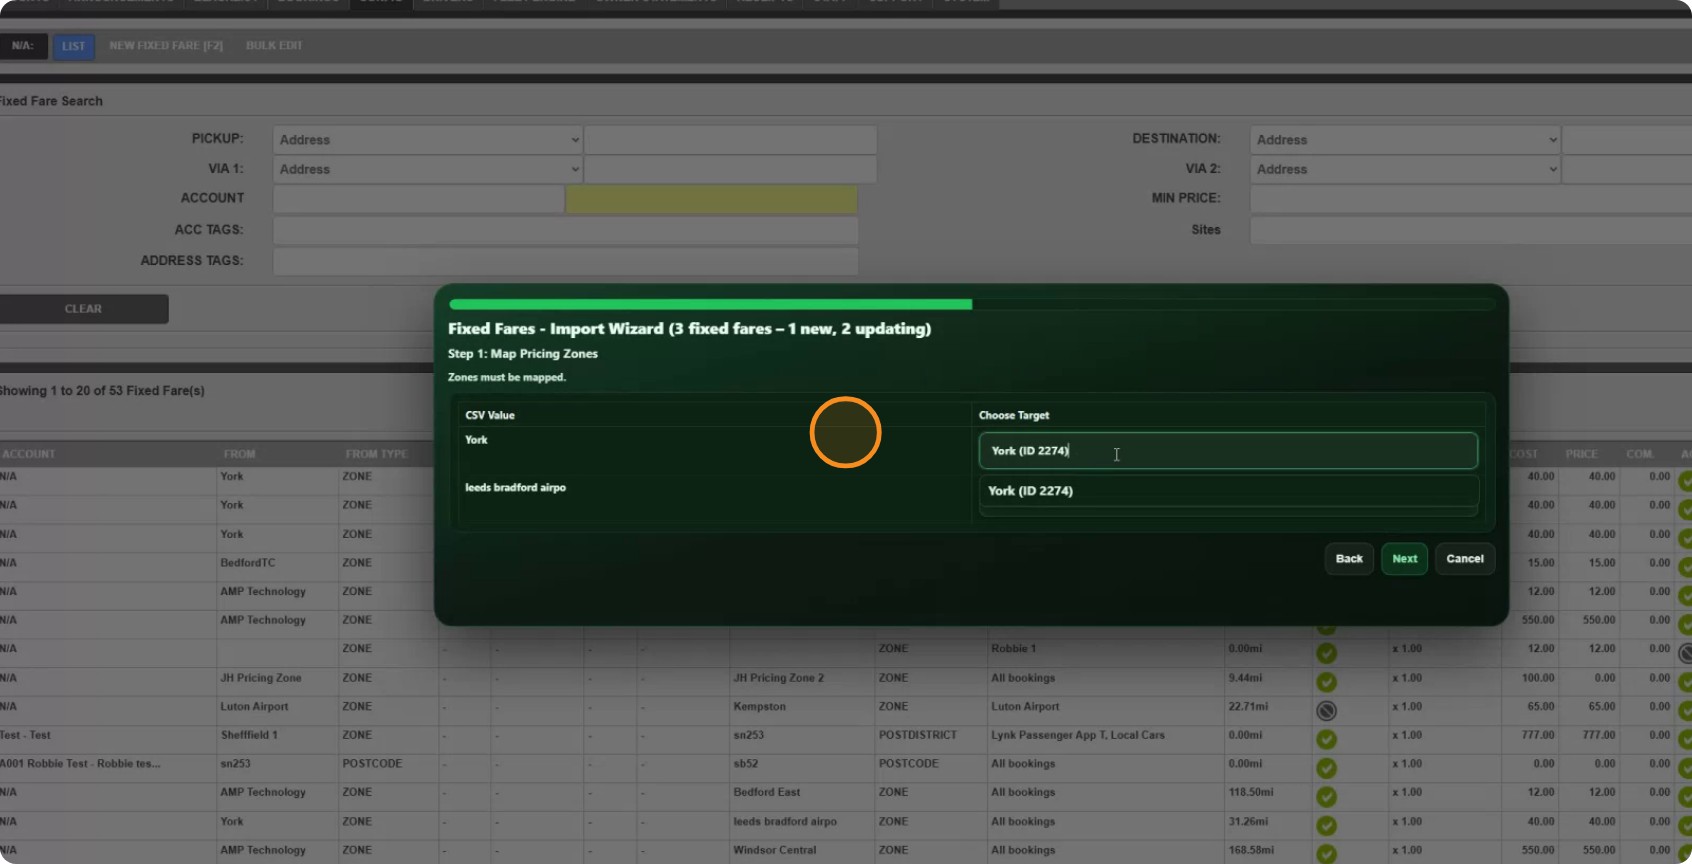
- Map Pricing Zones — the only step you cannot skip. Zones must be mapped.
- Map Sites
- Map Fixed Fare Schedules
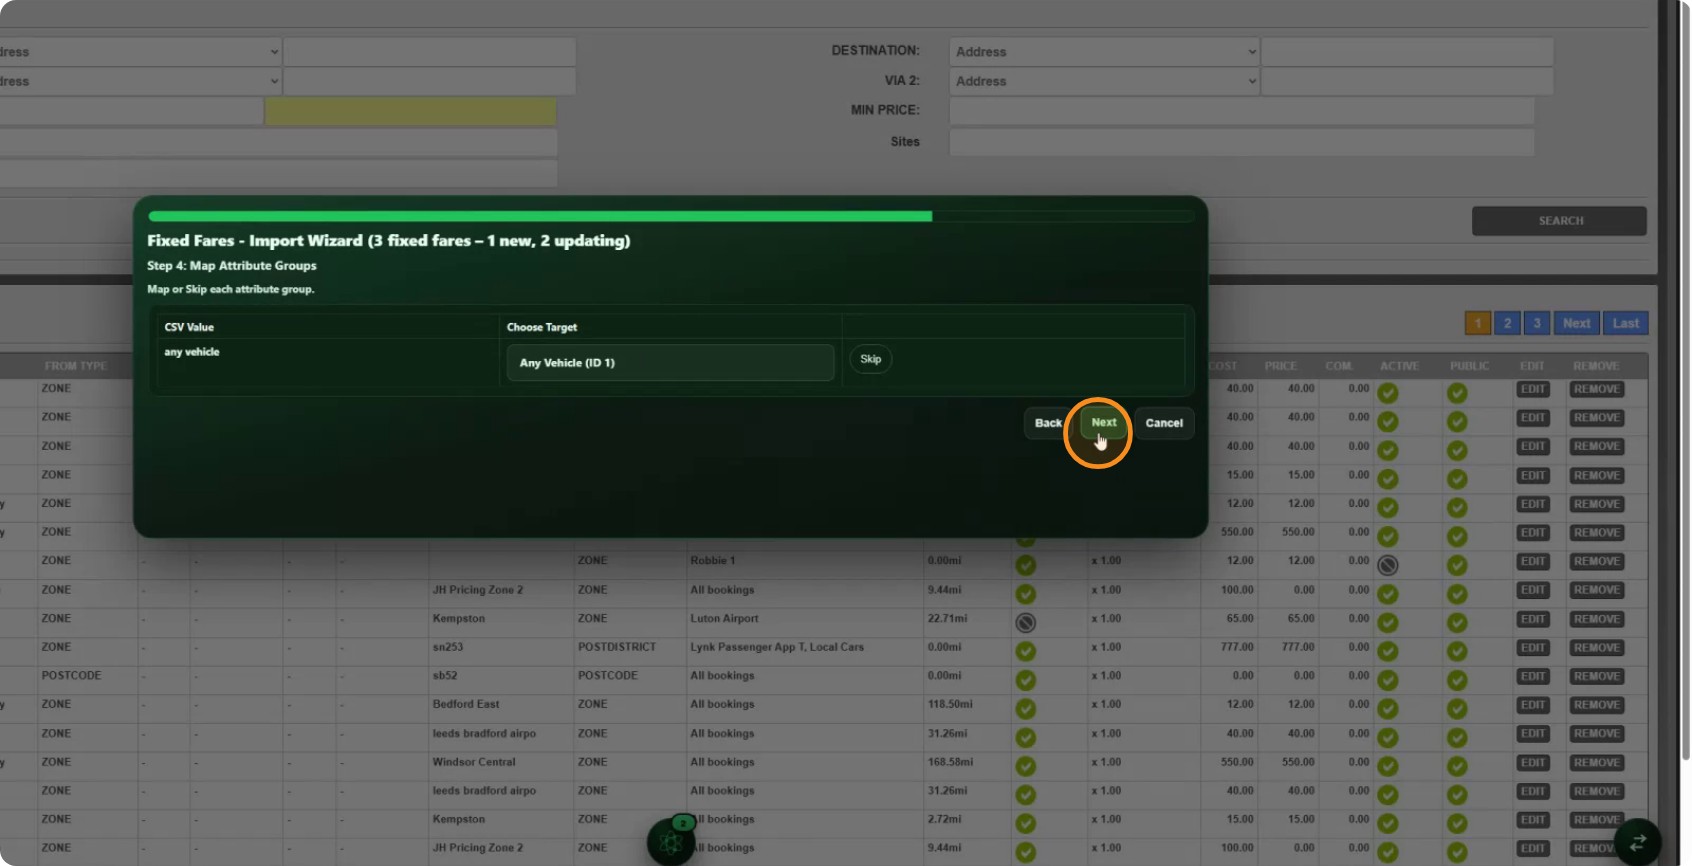
- Map Attribute Groups — this is where fixed fare modifiers live. A modifier is simply an attribute group with modifier set to Yes.
- Map Account Tags
- Map Accounts — matched on account ref where possible.
- Confirm
Steps 2 to 6 each offer Skip next to every value. Nothing is created during an import: if something in your file does not exist on the destination system, skip it and the fare still imports without that piece.
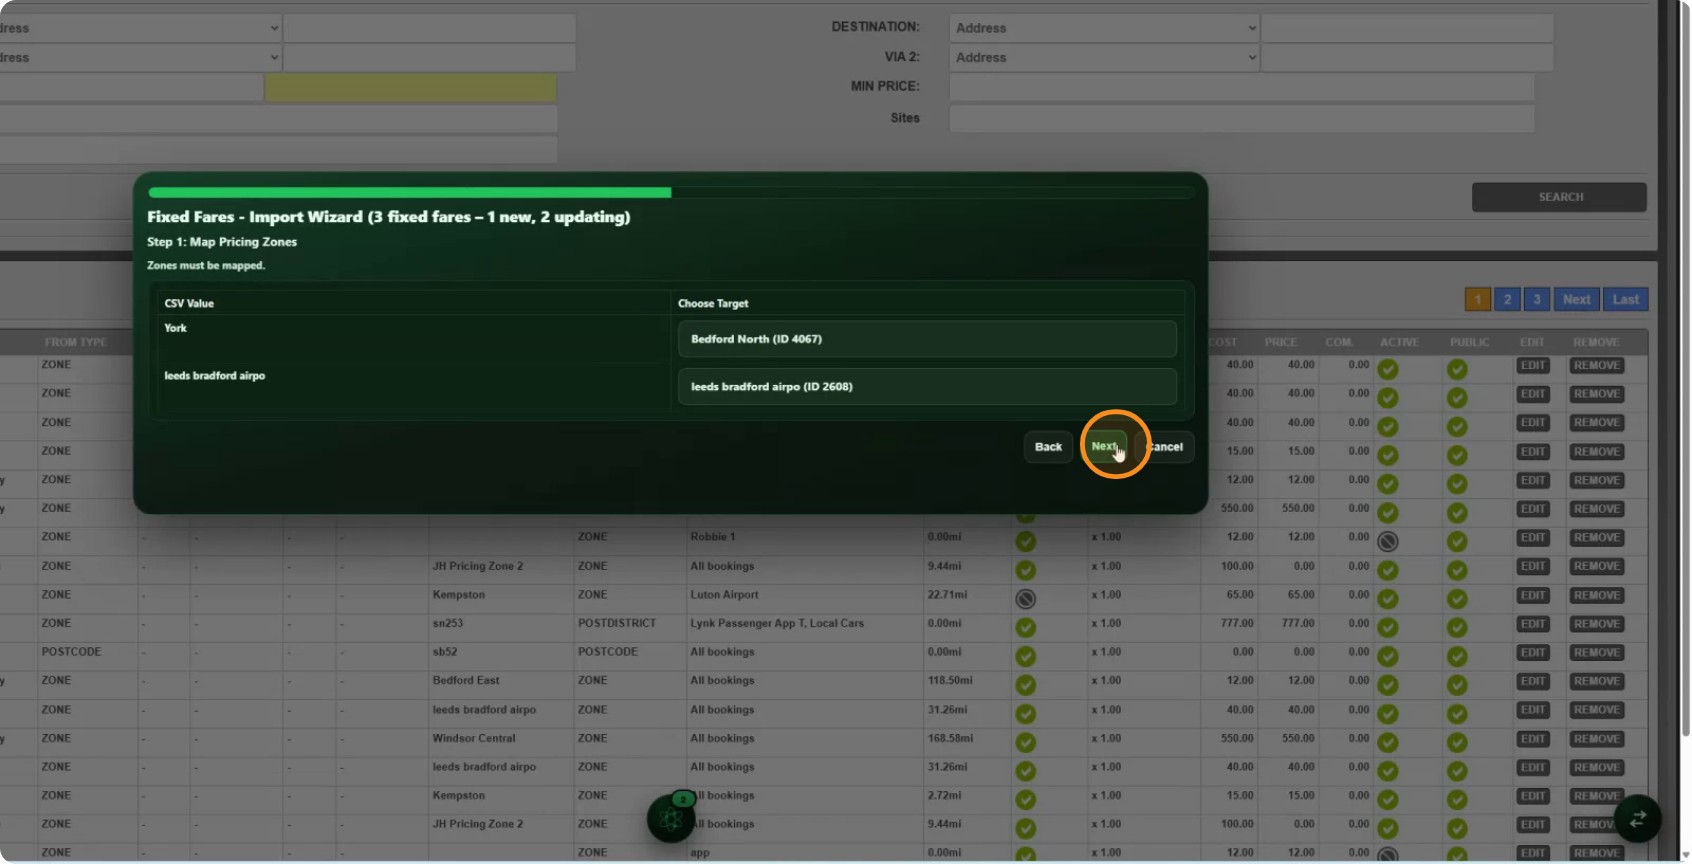
Mappings do not have to be like-for-like either. You can point any value at any existing zone, site, modifier, tag or account — so a York zone in your file can become Bedford North on the system you are importing into.
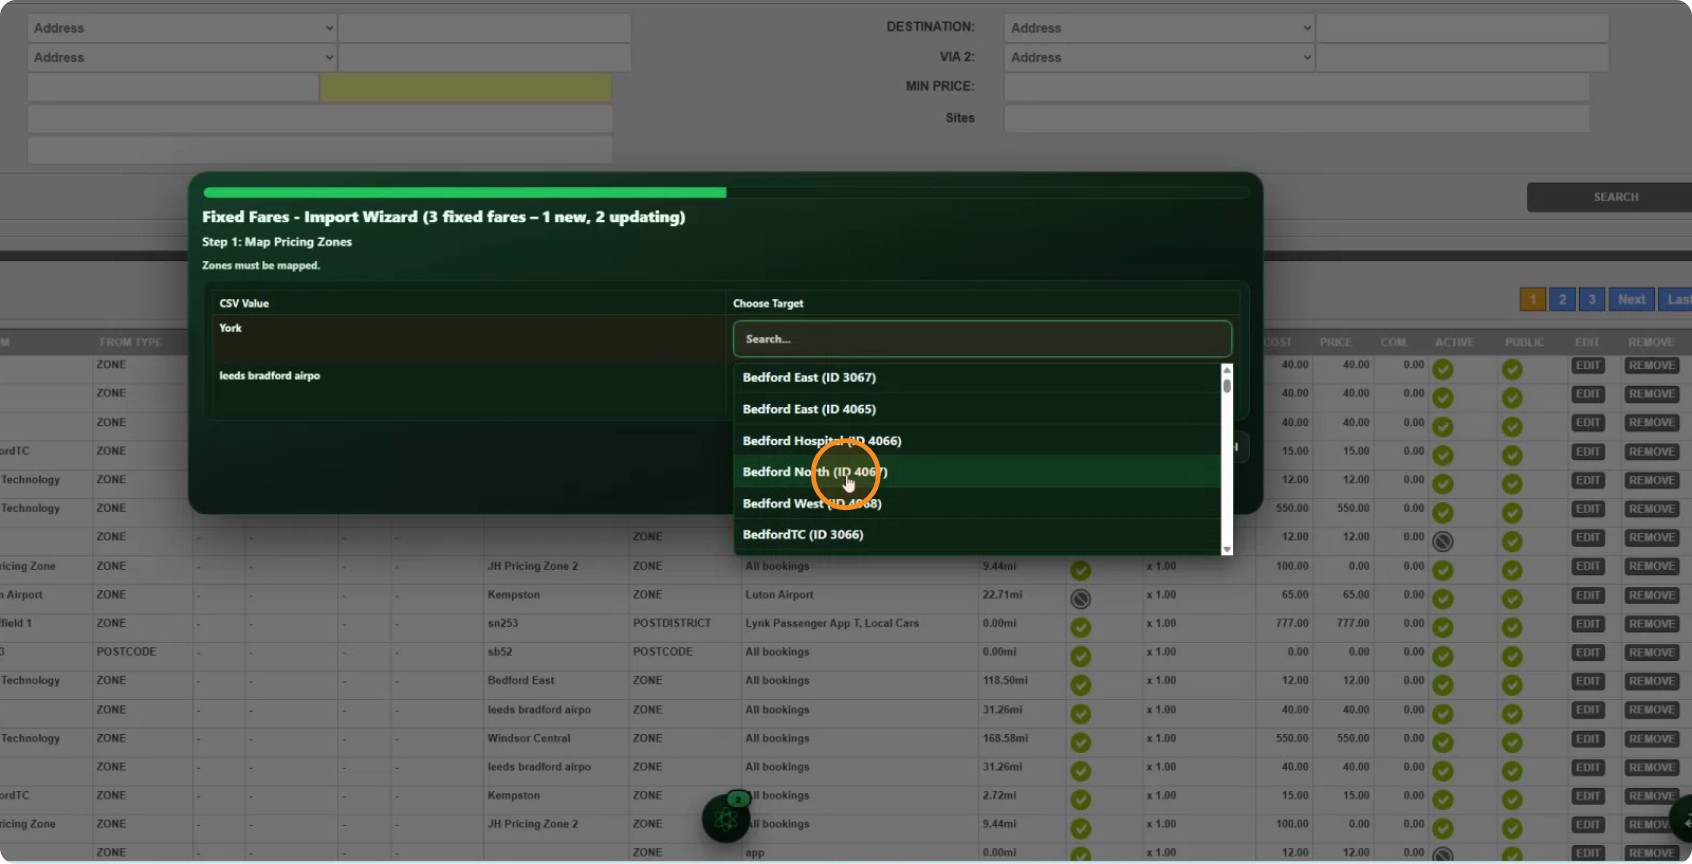
Click Next to move on.
Step 4 is worth a second look, because it is easy to misread. The CSV value shown might be something like any vehicle — that is the name of an attribute group in your file, and you are choosing which attribute group on this system it should become.
Step 6: Confirm and run it
The last step asks you to confirm. After you press Finish the mappings are locked — you can still start, pause and stop the import, but you cannot go back and change how things are matched.
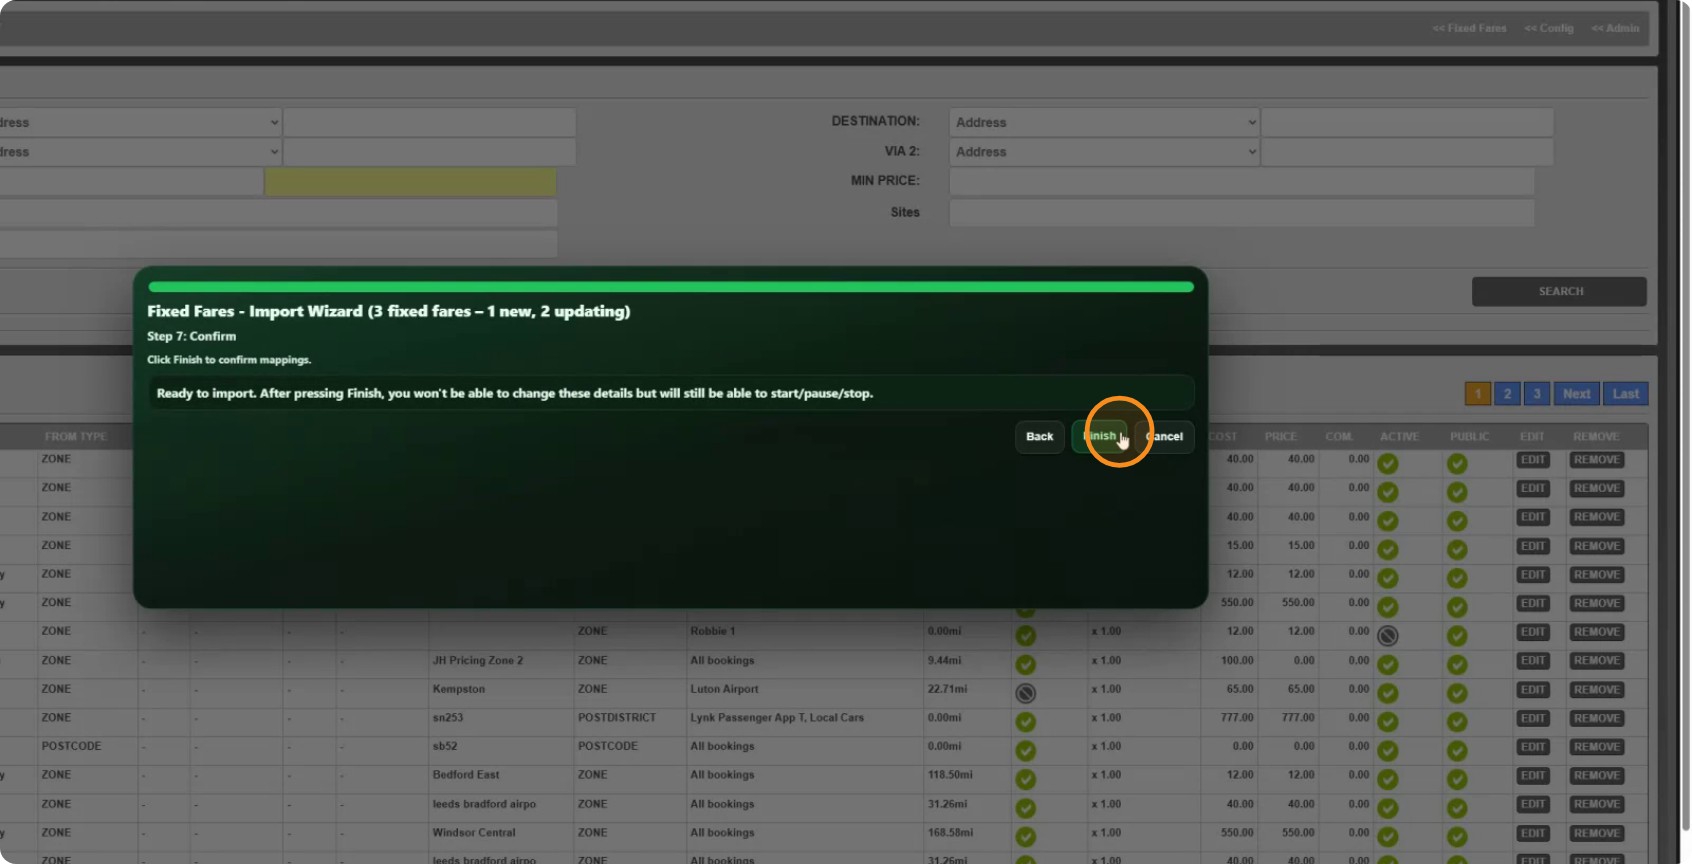
Click Start.
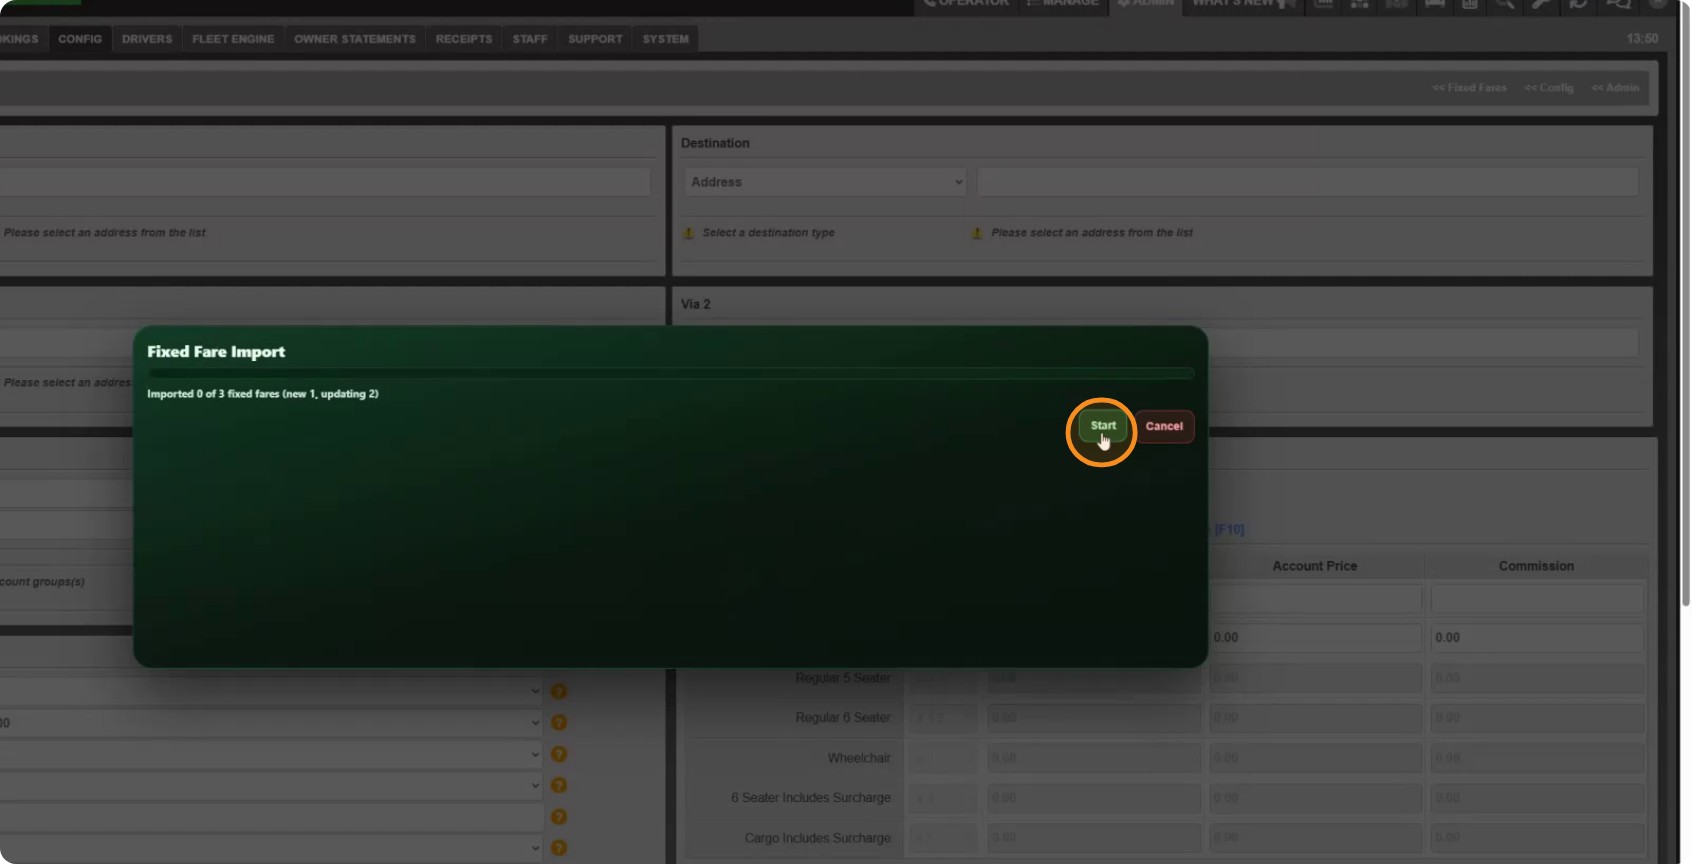
CabbiCore updates the fares that had an ID and creates the ones that did not.
Checking the result
Step 7: Find your fares
Go back to the fixed fares list.
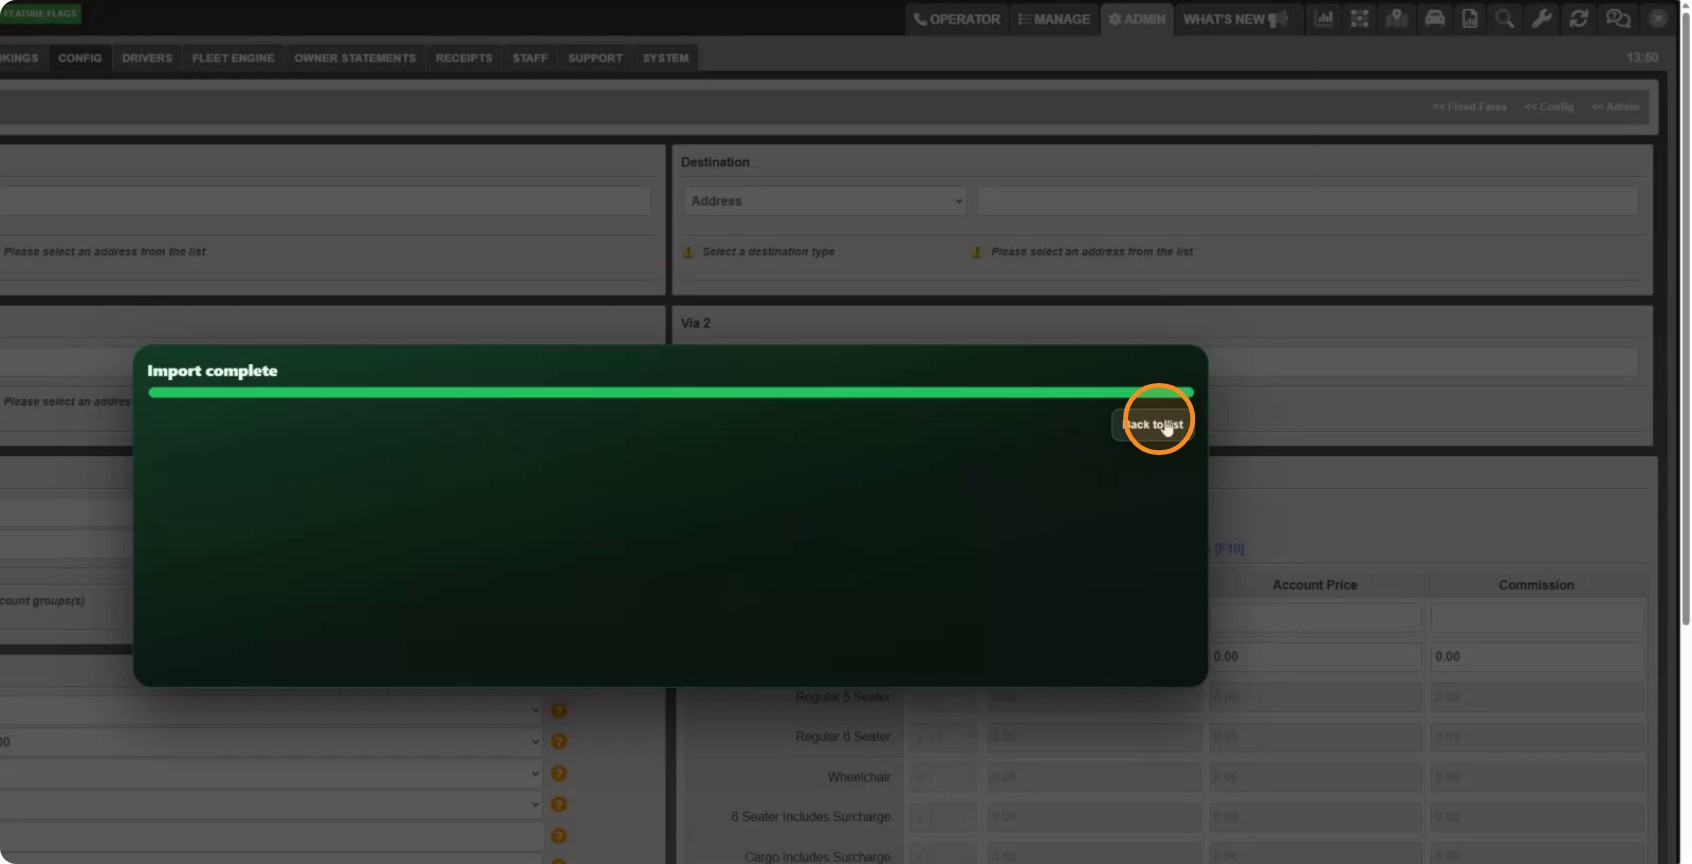
The fares you updated should show your changes.
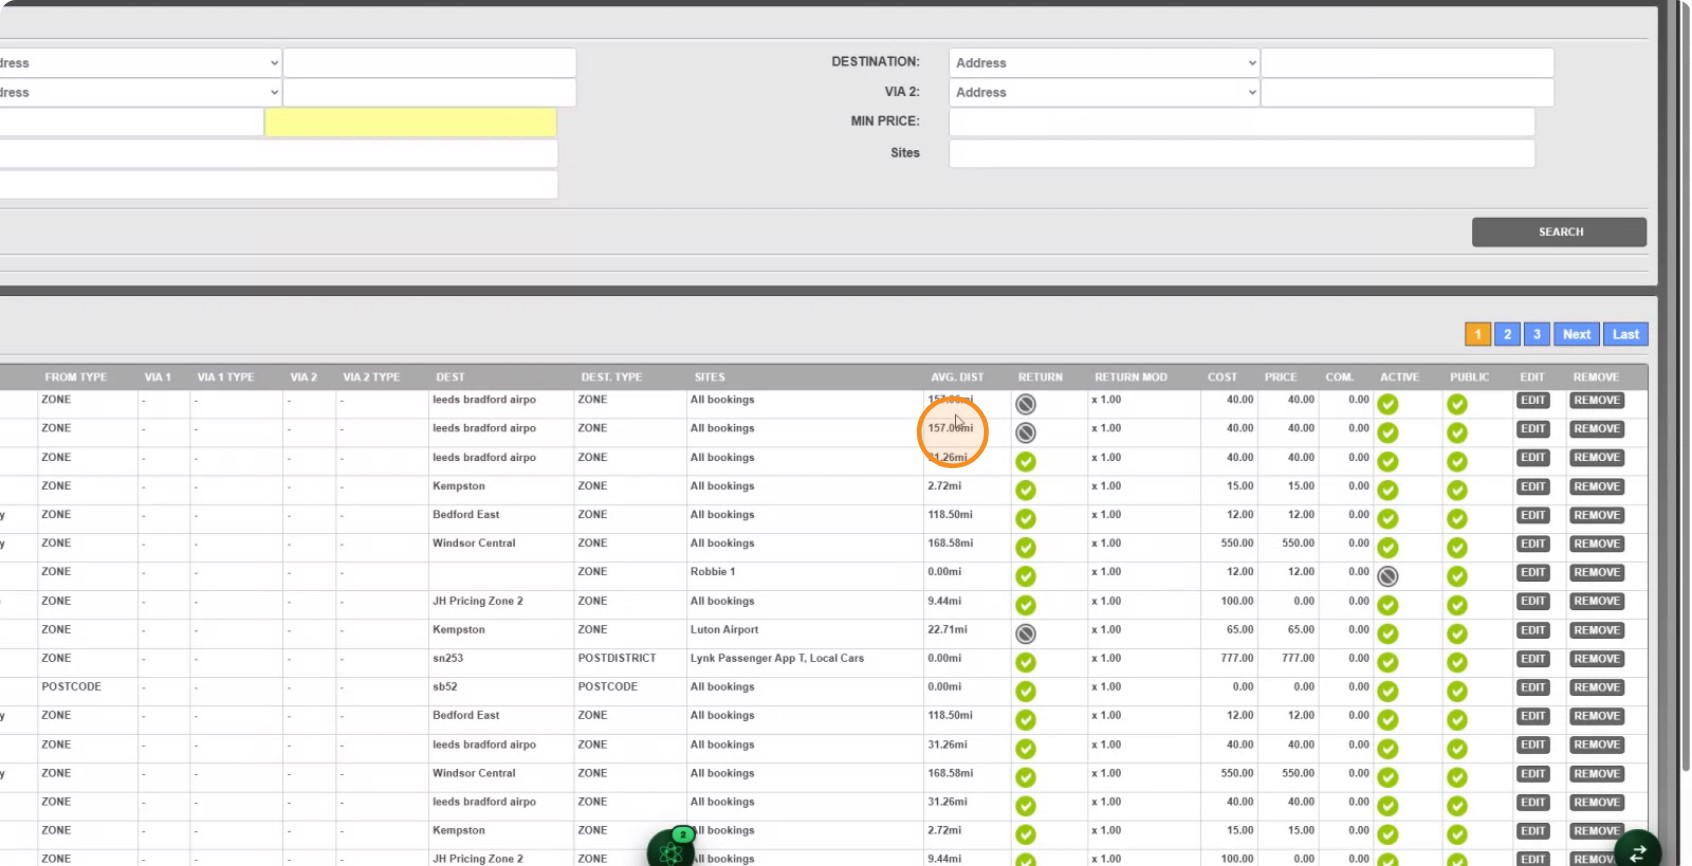
And your new fare should be there too.
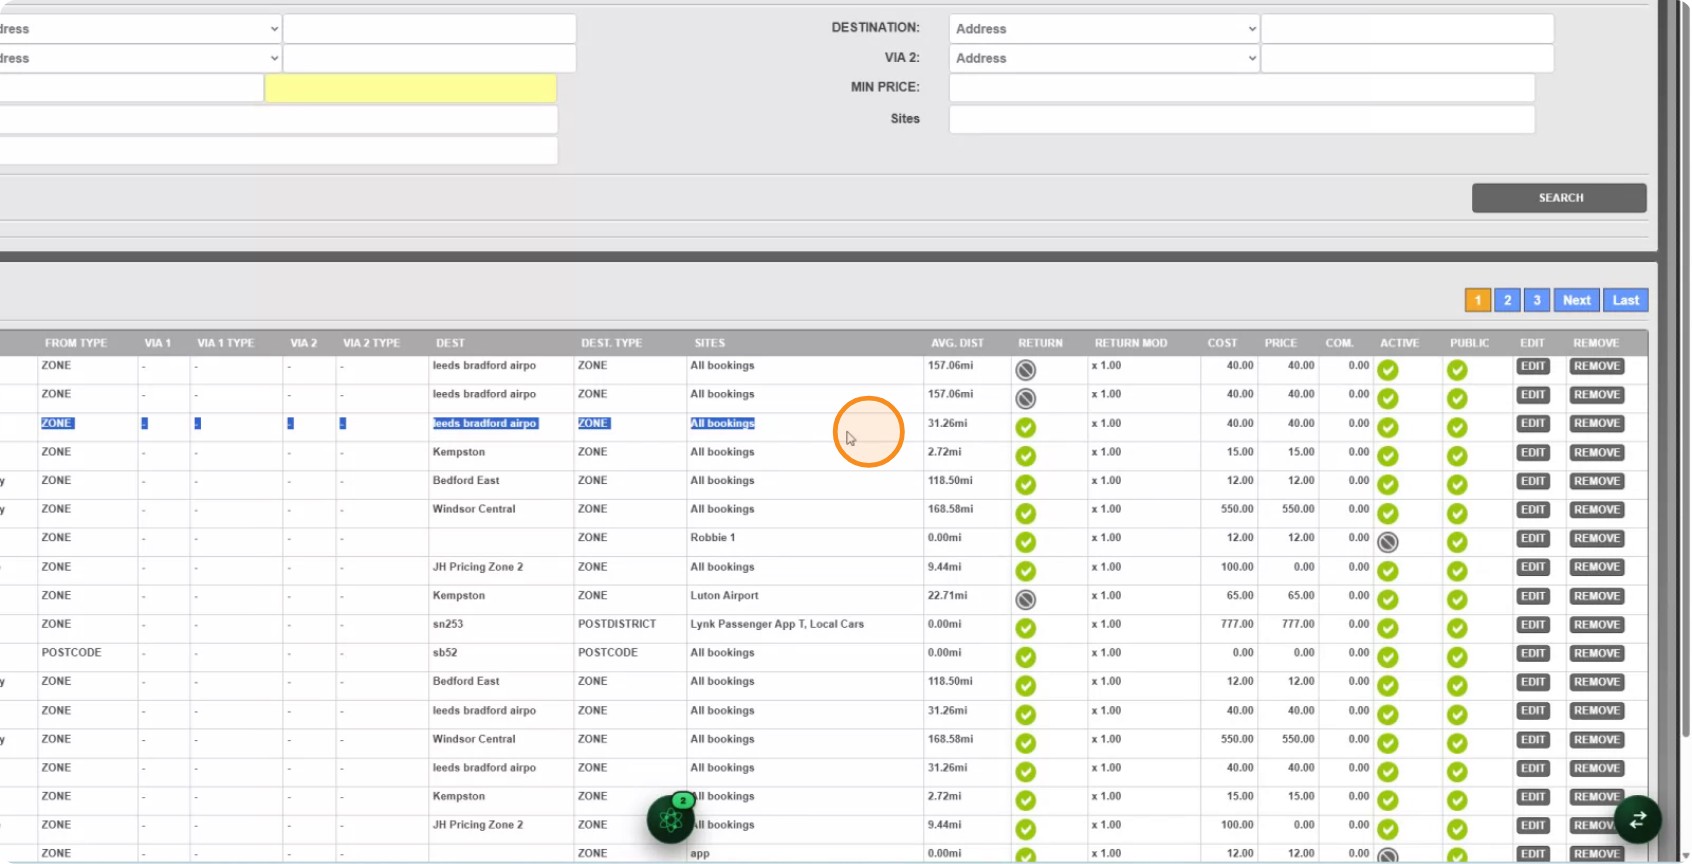
Check it matches the row you added to the CSV.